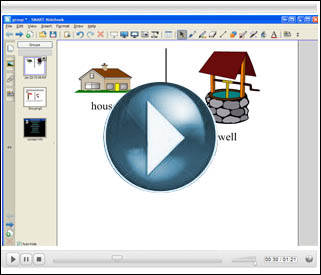
Quick overview: How to group (i.e – combine together) multiple objects in your SMART Notebook presentations. Intermediate technique.
How can it be used in the classroom? Let’s say you insert a picture of a house and then write the word “house” underneath it on the SMARTBoard. By default, the SMART Notebook software considers the word “house” and the image of a house as two separateobjects. Why could this be problematic? Well, if you or a student tries to tap and move the image of the house on the SMARTBoard, the word “house” underneath it will NOT follow along. By grouping multiple objects together, you can move, resize or rotate them as one single object. (Note: Grouping is a little tricky to explain without actually seeing it in action. If you’re still not still not sure why you’d want to group objects, please watch my video tutorial below!)
Video Tutorial: How do you group objects? To see an on-line video overview of how to group objects in your SMART Notebook presentations, click the large play button below:


